Knowledge base

Logic Pro X: Edit button on EXS24 not visible

Posted in Apple Logic

User Rating:  / 0

The Edit button for EXS24 is only visible if both Show Advanced Tools and the additional option for Advanced Editing are enabled in Logic Preferences. 

Screenshot of missing Edit button:

To view the Edit button:

  1. Choose Logic Pro X > Preferences.
  2. Click Advanced.
  3. Enable Show Advanced Tools. This will display additional options.
  4. Enable Advance Editing.
  5. The Edit button is now visible to the right of the Instrument menu:

Read Full Article

Logic Pro X: System Overload messages

Posted in Apple Logic

User Rating:  / 1

Note: If you are using Logic Pro 9, see Logic Pro 9.1.4 or later: Core Audio System Overload Messages.

When you work with audio in Logic, several areas of your computer are put to work. When Logic records and plays back audio tracks it needs CPU power and hard disk I/O capacity. Audio DSP effects and software instruments require CPU power and RAM. No computer has infinite capacity in any of these areas and there may be times when a Logic project will require more power than your computer is able to deliver at a given moment. When this happens, the System Overload message appears.

Seeing an overload message doesn't generally mean anything is wrong with Logic or your computer. This is just an indication that there is not enough CPU power, RAM, or hard disk bandwidth to do what the song is asking at the time. The following sections offer help with assessing when Logic might need too many resources and strategies for avoiding this.


System Performance Window

You can get an idea of how much of your computer's capacity is in use by looking at the System Performance window. Find this by double-clicking the CPU meter in the LCD (you must set the LCD to Custom view).


The window has two meters.

  • The Audio meter shows the amount of CPU and RAM capacity used. On multi CPU/core computers, it will be subdivided to show performance for each CPU/core.
  • The Disk I/O meter shows the amount of disk bandwidth being used. Watch the meters as the song plays to get an idea of what area may be running short of resources.


Configuration

The first step in preventing system overload messages is to make sure your computer is optimally configured.

  • Quit other applications when running Logic. In most cases open applications that you are not actively using will have little impact on your computer. However, it is possible for other open applications to use enough computer resources to cause overload messages.
  • Make sure your computer has plenty of RAM. Note that many DSP plug-ins are heavily RAM dependent. Extensive use of the EXS24 sampler instrument also may require a lot of RAM.
  • Be sure that any drive you use to record audio is formatted as Mac OS Extended. Avoid using UNIX, NTFS, or FAT32 formatting.
  • If your projects typically involve many audio tracks, consider a dedicated hard drive for recording audio to. If you choose to get an additional dedicated drive, an external SSD Thunderbolt or USB 3 drive would be a good choice.
  • If you work with a lot of EXS24 instances in a typical project, then a dedicated drive for sample storage may be worth considering. Consider this especially if you use the Virtual Memory option in the EXS24 (see below under Workflow Strategies).


Audio Devices Preferences
There are several adjustments you can make in the Audio Devices window.

  • I/O Buffer Size: The input buffer is like a bucket that must be filled with incoming audio data before it is passed through to the CPU. The Output Buffer is like a bucket that must be filled with processed audio data before it is passed through to the outputs. The I/O Buffer Size setting controls the size of these buckets. The lower this setting, the less latency between the time you play something into Logic and the time you hear it. The trade-off is that lower buffer settings increase the load on the CPU. Increasing the I/O Buffer Size setting may prevent System Overload messages.

    Note that increased latency may be an issue when recording. One possible strategy would be to work with a lower I/O Buffer Size while tracking and then to increase the size while mixing. There is, however, usually no advantage to settings greater than 256 samples. The practicality of this approach depends on your workflow. For purely audio recording (not involving Software Instruments), you might disable the Software Monitoring checkbox and monitor your audio directly from the source. In this case, you can set the I/O Buffer Size to 256 samples even while recording audio.

  • The Process Buffer Range: This setting determines how large a buffer Logic sets aside for its mixing engine. As with the I/O Buffer Size, smaller settings decrease latency,but increase CPU load. The default setting of Medium is usually good, but if you experience frequent system overloads then try setting it to Large.
  • ReWire behavior: This comes into play if you are sending MIDI to another application via ReWire. There are three settings: Off, Playback Mode (Less CPU Load), and Live Mode (Higher CPU Load). Leave this set to Off if you do not use ReWire. If you do use ReWire, use Playback Mode unless you are playing live from Logic into another application through ReWire.


Sample Rate
The song's sample rate directly affects the CPU and hard disk load. For example, if you double the sample rate from 44.1 kHz to 88.2 kHz, you double the amount of data that must be streamed from the hard drive for each audio track to play. The CPU also must work harder to process the audio. Don't necessarily assume that the highest sample rate your audio interface supports is the best one to use. Always balance the considerations of audio quality, anticipated delivery medium for the final product, and computer performance when selecting the sample rate for any project

Workflow Strategies
There are several working techniques you can use to minimize the load on your computer as you work with Logic Pro X.

Software instruments

  • Avoid having a Software Instrument track selected in the Arrange window. When a Software Instrument track is highlighted, Logic must devote enough CPU resources to insure that anything you might play live into the track can be processed. Be particularly aware of Track Stacks that include multiple Software Instrument sub-tracks. When you are mixing, try to keep an Audio or external MIDI track highlighted as you work. Only select a Software Instrument track or Track Stack at times when you are actually working with that particular track.
  • Freezing tracks can be a very effective strategy. When a track is frozen, it is rendered as a simple audio file with all DSP and all plug-ins on the track are disabled in the background. This can save large amounts of CPU power. Keep in mind that freezing Software Instrument tracks actually adds to the load on the hard disk. So, if Disk I/O is the source of overloads, freezing these tracks may be counterproductive.
  • Limit the voices used by Software Instruments. Many of Logic's Software Instruments offer control over the maximum number of voices available per instance of the instrument. Reducing the number of voices can reduce the CPU load. For example, if you have a Sculpture track that never plays more than two simultaneous notes, then you could reduce the number of voices to two. This would save some CPU power for other tasks.
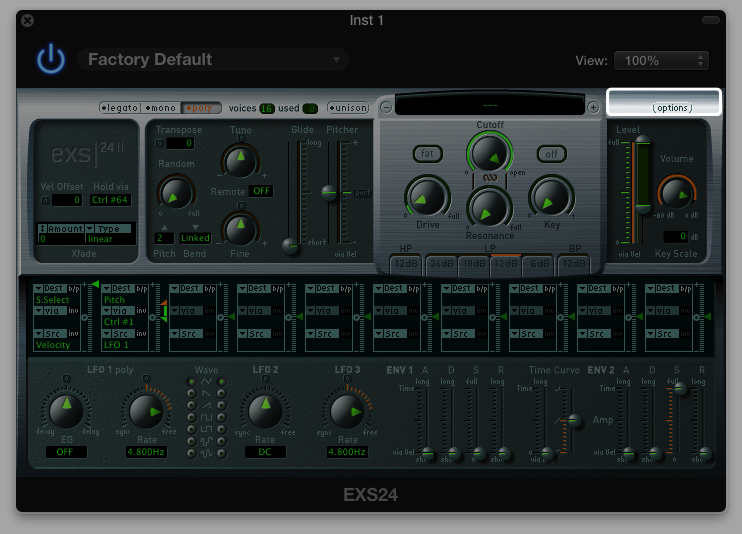
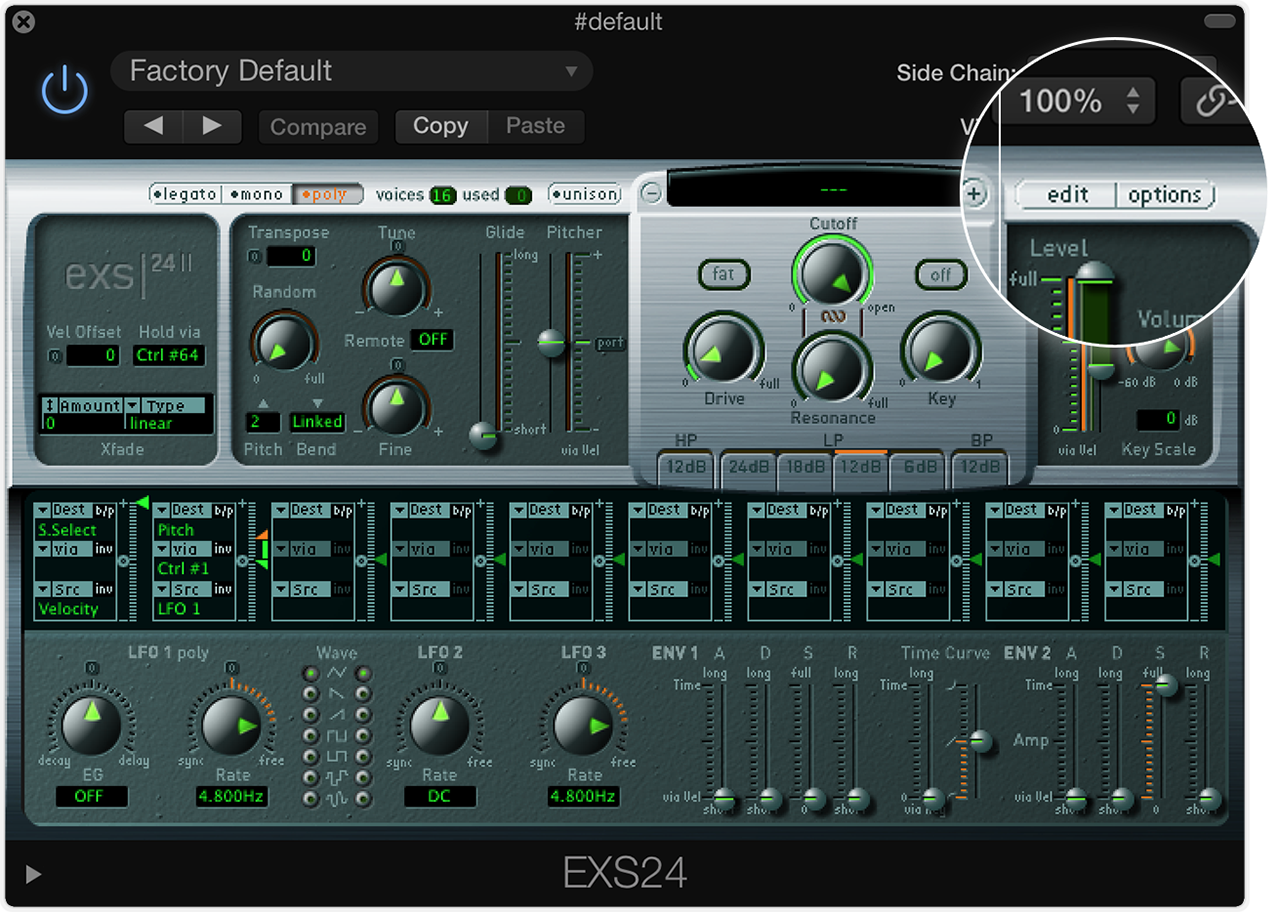
EXS24

The EXS24 sampler instrument offers an option to stream samples from disk rather than load them completely into RAM. To access the controls for this, click the Options button in the upper-right area of the EXS24 window and choose Virtual Memory. 

  • Virtual Memory: Whether or not to enable the Virtual Memory Active checkbox at all is another trade-off between RAM and hard drive performance. If most of your system overload alerts seem to be accompanied by peaks in the Audio meter in System Performance, then enabling Virtual Memory may help. This is especially true if you load lots of EXS24 samples in a typical project. If the Disk I/O meter is peaking, then turning off Virtual Memory may be the better choice.

    Note that settings in the Virtual Memory window are global—they affect all instances of the EXS24 in all songs.

  • Disk Drive Speed: This setting calibrates the performance of Virtual memory to your hard drive. On a modern Mac, either Medium or Fast should be appropriate. On an older portable computer with a slower (4200 RPM) disk drive, Slow may be the best option.
  • Hard Disk Recording Activity: This setting allows you to balance the performance of EXS24 streaming with the demands that your audio tracks may place on Disk I/O. If you use very few audio tracks, set it to Less. If you typically work with a large number of audio tracks, Average or Extensive may be the better choice. 


Aux channels


Use Aux channels to share CPU intensive effects among multiple tracks. Whenever possible, avoid putting reverbs and delays on individual channels. Put them on an Aux and send to them from each track. If a track requires a different sounding reverb than the rest of the song, try a less CPU-intensive reverb like the SilverVerb or PlatinumVerb. If you are processing multiple tracks with the same EQ and/or compressor, insert the plug-ins on an Aux. Then, set each track you want to process to output to that Aux.


Adjust Automation Preferences


Under Logic Pro > Preferences > Audio > General, there's a setting for Sample Accurate Automation with three possible settings. The default is "Volume, Pan, Sends," but you can also set this to Off or "Volume, Pan, Sends, Plug-in Parameters." The more automation parameters set to be sample accurate, the more load may potentially be placed on the CPU.


Read Full Article

Logic Remote doesn't connect to your Mac after update to iOS 8

Posted in Apple Logic

User Rating:  / 0

To resolve the issue, first make sure you're running the latest version of Logic Remote. To do so, check that your iPad is logged in to the App Store with the same Apple ID you originally used to download Logic Remote. Tap Updates in the App Store, and install Logic Remote if it is offered.

If you're already using the most up-to-date version of Logic Remote and the issue continues, use the following steps.

Logic Pro X 


  1. Quit Logic Pro X if it's running.
  2. 
	
  3. In the Finder, choose Go > Go to Folder.
  4. 
	
  5. Type ~/Library/Preferences and click OK.
  6. 
	
  7. In the window that opens, locate the "com.apple.logic.pro.cs" file and delete it.
  8. 
	
  9. Restart your Mac.
  10. 
	
  11. Open Logic Pro X.
  12. 
	
  13. Open Logic Remote on your iPad.
  14. 
	
  15. Tap Logic Pro X in the Connect window on your iPad.
  16. 
	
  17. Confirm the connection in the Logic Remote connection dialog in Logic Pro X.
  18. 


GarageBand for Mac (v10.0 or later)


  1. Quit GarageBand X if it's running.
  2. 
	
  3. In the Finder, choose Go > Go to Folder.
  4. 
	
  5. Type ~/Library/Containers/com.apple.garageband10/Data/Library/Preferences/ and click OK.
  6. 
	
  7. In the window that opens, locate the "com.apple.garageband10.cs" file and delete it.
  8. 
	
  9. Restart your Mac.
  10. 
	
  11. Open GarageBand X.
  12. 
	
  13. Open Logic Remote on your iPad.
  14. 
	
  15. Tap GarageBand X in the Connect window on your iPad.
  16. 
	
  17. Confirm the connection in the Logic Remote connection dialog in GarageBand X.
  18. 


Read Full Article

Logic Pro, Logic Express: About compressed audio and track counts

Posted in Apple Logic

User Rating:  / 0

In Logic Pro and Logic Express, you can play compressed audio formats such as AAC, Apple Lossless, and MP3 directly in the Arrange window. Because these files require less disk space, you might think that they would also require less processor and disk drive bandwidth to play back. However, directly playing compressed audio may require more of your computer's resources than playing back an equivalent number of uncompressed audio tracks. This could result in lower track counts.

In some situations, you may get better performance by converting your compressed audio tracks to AIFF or WAVE files.

To do so, select the relevant regions in the Arrange window and choose Arrange > Audio > Convert Regions to New Audio Files. A file selector will appear, allowing you to choose a destination and file format for the converted files.

Read Full Article

Logic Pro and MainStage 64-bit mode FAQ

Posted in Apple Logic

User Rating:  / 0

What advantages are there to using 64-bit mode?

The main advantage is that you can address vast amounts of memory. With 64-bit mode, the application memory is not limited to 4GB as with 32-bit applications, so there is essentially no practical limit by today's standards. As a result, all the installed memory that is not needed by the OS is available for use by Logic Pro or MainStage and all the included plug-ins, which can be meaningful if your Mac has more than 4GB of memory installed. This larger amount of memory allows you to run far more instances of memory intensive plug-ins, such as sample-based software instruments.

Read Full Article

Logic 9.1.3 or later: Processing Threads setting and Core Usage

Posted in Apple Logic

User Rating:  / 0

The Processing Threads setting can be accessed by choosing Logic Pro (or Express) > Preferences > Audio.

This setting allows you to specify the maximum number of audio rendering threads Logic will open at any given time. The options available depend on the number of physical cores your computer has, and whether it supports Hyper-Threading. The default setting is Automatic. This setting selects the option that should provide a good balance of performance and reliability for your computer.

To see the maximum number of audio rendering threads the Automatic setting has selected, open the expanded System Performance meter by double-clicking the System Performance meter in Logic's transport. The number of vertical bars displayed matches the maximum number of processing threads available with the current setting.

It is also possible to manually select a particular value for this parameter. Click on the Processing Threads drop-down and select the maximum number of threads Logic will create. The first setting below "Automatic" represents the largest number of threads Logic can create on your computer. This corresponds to the maximum number of cores that your computer offers (the combined total of physical and virtual cores), with a limit of 16. You can reduce this number in multiples of two. After you make a change to the setting, click the Apply Changes button to activate it.

There are numerous factors which influence how the OS distributes the workload to the cores on your Mac. The optimal value for the Processing Threads may vary not only for different configurations but for different types of Projects. Selecting the highest value may not always be the best choice. You will need to experiment to determine which setting provides the best balance of performance and reliability with your setup and particular Logic Project.

Read Full Article

Logic: Working with Standard MIDI files

Posted in Apple Logic

User Rating:  / 0

There are two basic ways to bring a Standard MIDI file into Logic. You can either open it as new project, or import it into an existing Logic project. In either case, all the MIDI note and controller data on each included track is brought into Logic, but there are some differences in how global project data such as tempo and time signatures are handled.


Opening a MIDI file as a new project


  1. Choose File > Open from the Logic menu.
  2. 

  3. In the window that opens, navigate to the MIDI file on your hard drive and select it.
  4. 

  5. Click the Open button.
  6. 


When you open a MIDI file this way, all global project data including tempo and time signatures are included. This may be a good workflow if you are using the MIDI file as a starting point for your project.


Importing a MIDI file into an existing project


You may want to add data from a MIDI file to an existing Logic project. In this case, you can import the MIDI file rather than opening it as a new project.


  1. Open the Logic project.
  2. 

  3. Choose File > Import from the Logic menu.
  4. 

  5. In the window that opens, navigate to the MIDI file on your hard drive and select it.
  6. 

  7. Click the Import button.
  8. 


In this workflow, all the tracks are imported, but tempo data and time signatures are ignored, preserving the existing global data in your project.


Note: You can also import a MIDI file into a project by dragging the file from the Finder onto the Arrange window.

Read Full Article

MainStage 2: Frequently asked questions (FAQ)

Posted in Apple Logic

User Rating:  / 0

Information about products not manufactured by Apple, or independent websites not controlled or tested by Apple, is provided without recommendation or endorsement. Apple assumes no responsibility with regard to the selection, performance, or use of third-party websites or products. Apple makes no representations regarding third-party website accuracy or reliability. Risks are inherent in the use of the Internet. Contact the vendor for additional information.

Read Full Article