OS X Server (Mountain Lion): May be unable to receive mail after migrating
Products Affected
OS X Server (Mountain Lion)
OS X Server (Mountain Lion)
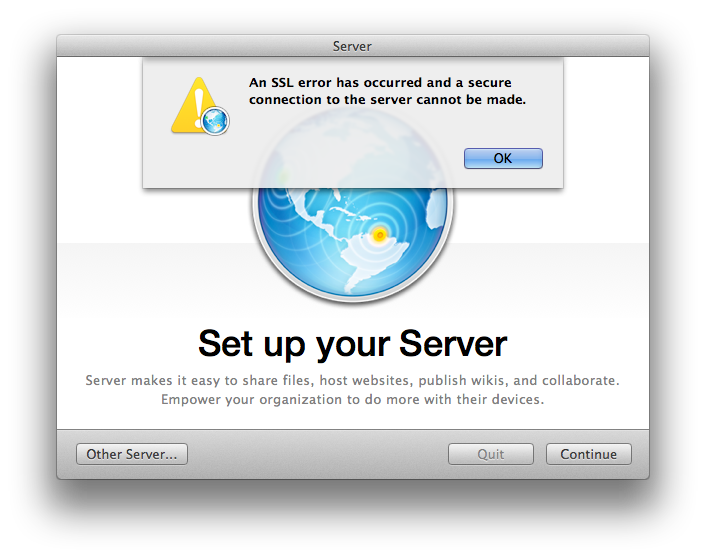
When upgrading to OS X Server app v2.2 from a previous version, you may see an alert stating "An SSL error has occurred and a secure connection to the server cannot be made." If this occurs, you will be unable to finish setting up your server.
You can resolve this issue by signing out of your iTunes Store account, and then signing back in:
Verify that the issue is resolved by accessing Movies or TV Shows on your Apple TV.
If you encounter an issue signing in or out of your iTunes Store account, try restarting your Apple TV.
If your Certificate Authority sends you both an intermediate and a leaf certificate in response to your Certificate Signing Request, an alert may appear in Server app v2.2 when attempting to import the certs if the intermediate cert is not already in your keychain:
"An error occurred on the server while processing a command.
The error occurred while processing a command of type 'importCertificates' in plug-in 'servermgr_certs'."
The Apple TV status light (LED) glows steadily, flashes, or turns off. Learn what these behaviors mean.
If you're upgrading from a Time Machine backup of Lion Server to OS X Server v2.2, you may see an alert during setup stating:
"An error occurred while configuring your Server. The following actions failed or were not attempted: Upgrading services"
Note: This issue only affects Server app v2.2.
Here are some examples of your computer's ports which are used to connect power, headphones, or other devices (called peripherals) to your Mac.
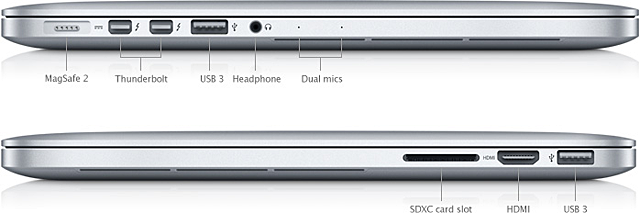
Ports on a MacBook Pro with Retina display:
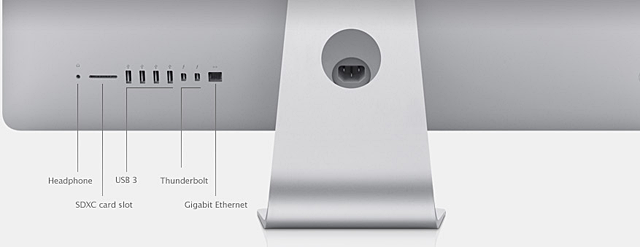
Ports on the back of an iMac:
 MagSafe port: On a Mac notebook, this is where you connect the MagSafe power cable.
 USB port: A wired external keyboard or mouse connects to your computer's USB port, as do many printers and USB flash drives (wireless keyboards, trackpads, and printers do not need to use a USB port—these use wireless Bluetooth or Wi-Fi technology). Learn more about using USB devices with Mac computers here.
 Thunderbolt: Connect a Thunderbolt display, or connect a Mini DisplayPort to DVI, VGA, HDMI, or DisplayPort adapter. Also conect storage devices, video capture, firewire, and gigabit ethernet adapters directly to your Mac's Thunderbolt port. Got a new Thunderbolt display? See which Macs can connect to it.
 Audio ports: Connect your Mac to an audio system or to connect headphones or speakers using the audio ports.
 Ethernet port: If you connect to the Internet without Wi-Fi, you probably have a modem or router connected to your computer's Ethernet port. If your Mac doesn't have an Ethernet port but you need one, you can use the Apple USB Ethernet Adapter.
 FireWire port: Some Macs come with FireWire 400 or FireWire 800 ports for connecting peripheral devices such as external hard drives.
To learn which ports and connectors your Mac has:
Some Macs have more ports than others. If you run into a situation in which your Mac doesn't have enough ports to connect all of your USB or FIreWire peripherals, consider getting a third-party hub.
There are many third-party USB and FireWire hubs on the market. These hubs work in the same way that a power strip allows you to plug in more electrical devices into a single socket. Companies such as Belkin and Kensington offer a wide variety of hubs.
If you want to create your own computer network, you can find plenty of Ethernet routers and hubs on the market too.
Find iTunes Store content that supports closed captioning on your:
Mac or PC
iTunes 11 or later

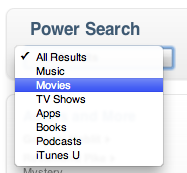
You can also browse to a movie or TV episode's description page and look for a ![]() next to the title of the video or in the language section.
next to the title of the video or in the language section.

iTunes 10.7 or earlier


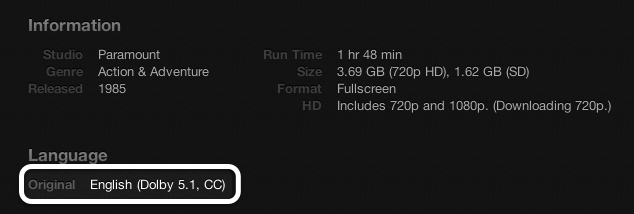
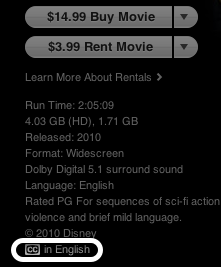
Video that supports closed captioning will display a ![]() on the left side, under the movie details.
on the left side, under the movie details.
iPhone, iPad, and iPod touch
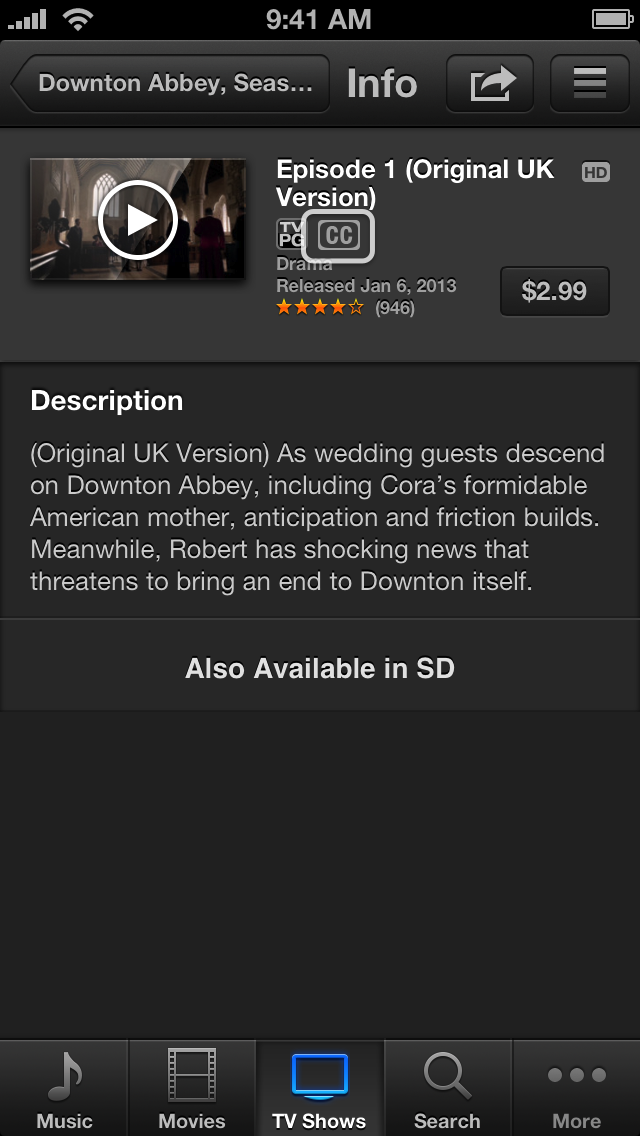
Video that supports closed captioning will display a ![]() in the movie details section.
in the movie details section.
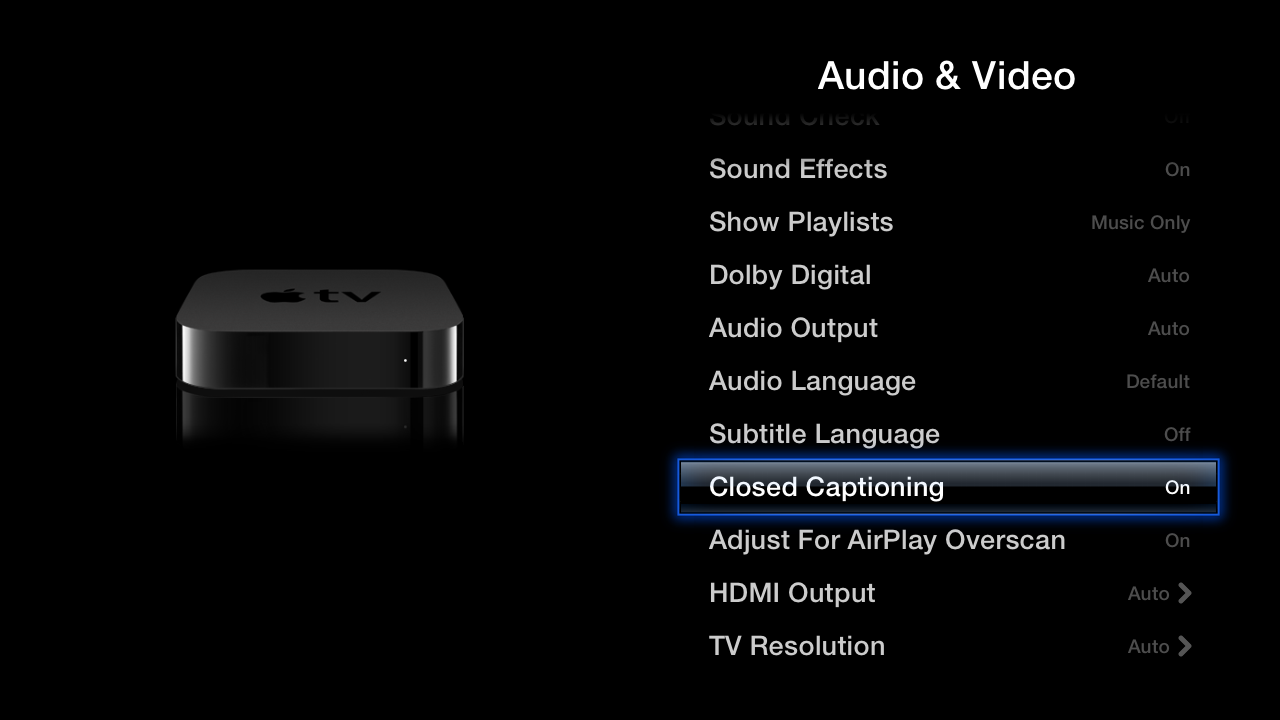
Apple TV

Enable closed captioning on your:
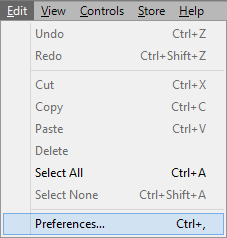
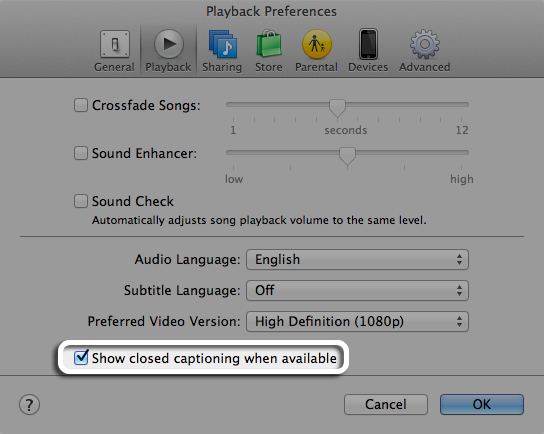
Mac or PC
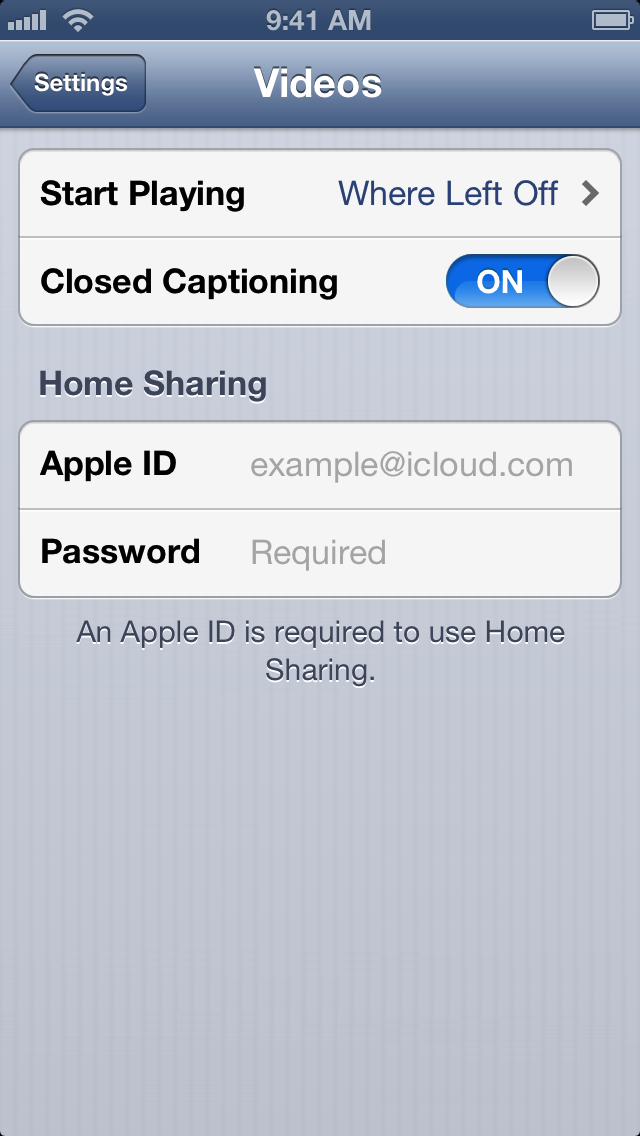
iPhone, iPad and iPod touch
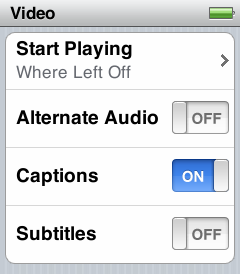
iPod nano
Apple TV

Important: Follow these instructions only if your AirPort base station is operating in DHCP and NAT mode. Do not follow these steps if your AirPort base station is operating in Bridge mode. Check your AirPort base station Router mode setting by selecting the Network tab. The Router Mode is the first setting.
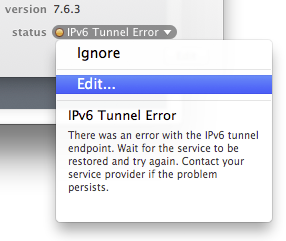
AirPort firmware 7.6.3 requires that all fields for IPv6 Manual Tunnel mode be completely filled in and contain valid entries (Note: This does not apply to IPv6 Automatic Tunnel mode). If you were using this mode prior to firmware 7.6.3 and settings for IPv6 manual Tunnel mode were incomplete or missing, the base station will flash amber, and AirPort Utility will show a pop-over error: IPv6 Tunnel Error.
Selecting the error from the AirPort Utility pop-up will show the following: "There was an error with the IPv6 tunnel endpoint. Wait for the service to be restored and try again. Contact your service provider if the problem persists."
Resolving the IPv6 Tunnel error after upgrading to firmware 7.6.3 in router/NAT mode
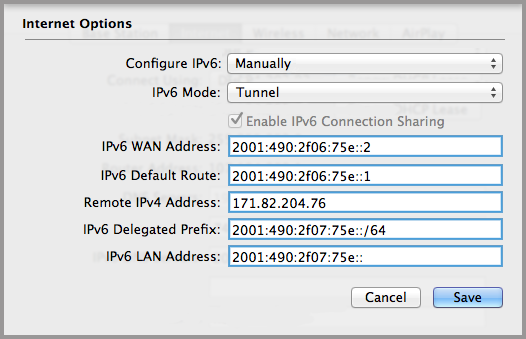
Note: All fields highlighted in blue must be completely filled in with valid entries.
Complete steps for manually configuring IPv6 Tunnel mode