Final Cut Pro: How to maintain aspect ratio when exporting high definition formats to standard definition
Export a QuickTime reference movie
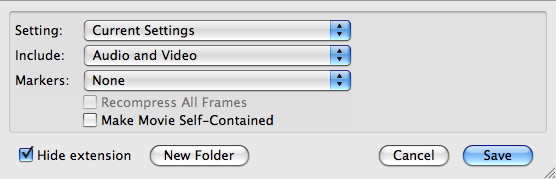
- Choose File > Export > QuickTime Movie. An export window will open:
- Deselect the option to Make Movie Self-Contained.
- Use the Settings pop-up menu to select a format for the exported movie.
- Click Save.
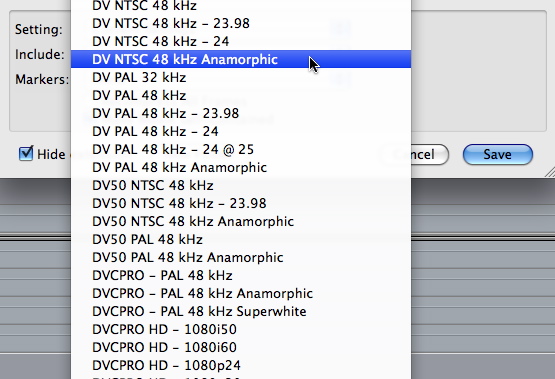
To maintain a 16:9 aspect ratio when exporting to a standard definition format, you must use an anamorphic setting. If you want to export to DV, you will see an existing preset:
If you wish to export to IMX, then you will have to create a preset. The QuickTime export settings menu uses the Sequence presets.
Create an anamorphic IMX preset
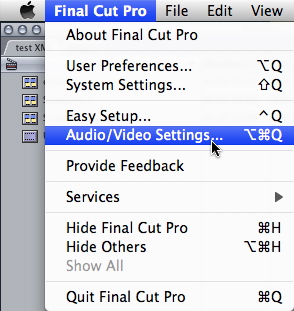
- Choose Final Cut Pro > Audio/Video Settings:
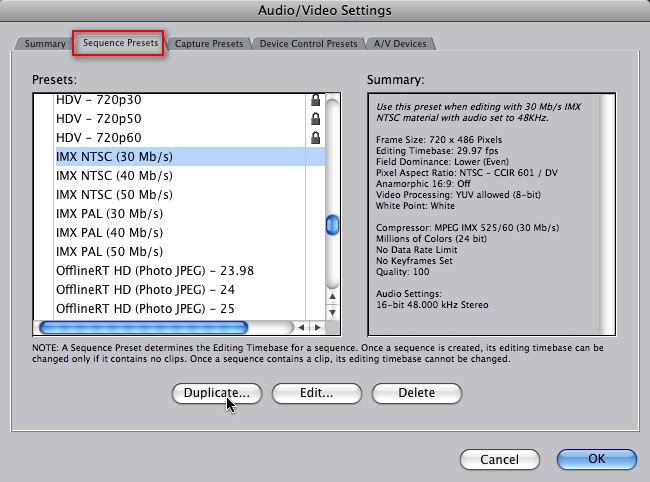
- Click the Sequence Presets tab.
- Scroll down the list of presets and highlight one of the existing IMX settings.
- Click Duplicate.
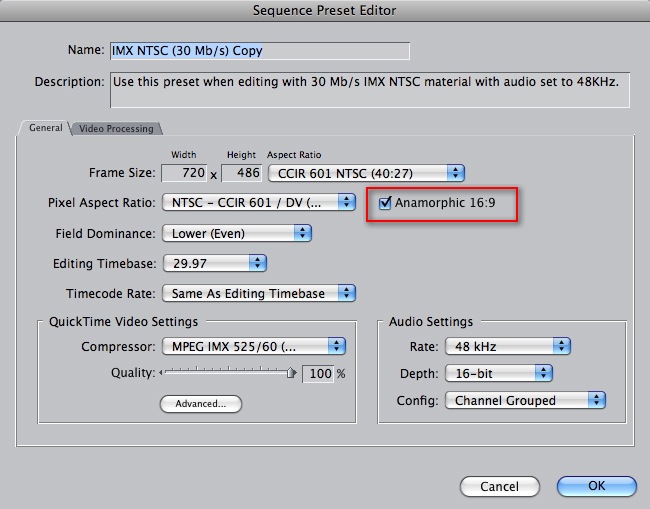
- Enable the Anamorphic 16:9 check box.
- Highlight the Name and give it a new name such as "IMX NTSC (30 Mb/s) anamorphic".
- Click OK.
The Audio/Video Settings window will open:
The Sequence Preset Editor will open:
![]()
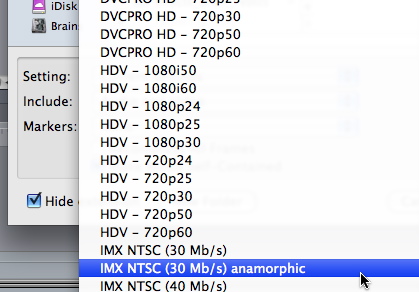
The new preset is now available in the QuickTime export settings:
When you bring reference movies exported with the anamorphic setting back into Final Cut Pro, they will maintain the correct aspect ratio.
Follow the same procedure to create anamorphic presets for any other standard definition formats you may wish to export to from high definition media.