Xsan: Compatibility of Fibre Channel storage devices
Products Affected
Xsan 2.3, Xsan 3
Xsan 2.3, Xsan 3
Lion Server, Mac OS X Server 10.5, Mac OS X Server 10.6, OS X Server (Mountain Lion), OS X Mountain Lion, OS X Lion, Mac OS X 10.6, Mac OS X 10.5
Windows 7, Windows Vista, Windows XP, iTunes, iTunes Store, Windows, Internet Explorer
AirMac Express with 802.11n-JP, AirPort Base Station (Dual Ethernet), AirPort Express 802.11n (1st Generation), AirPort Express 802.11n (2nd Generation), AirPort Express Base Station, AirPort Extreme 802.11n (1st Generation), AirPort Extreme Base Station, AirPort Extreme Base Station POE/UL2043, Other Printers, Time Capsule 802.11n (1st Generation)
As a workaround, change directories to a path that is not on an Xsan volume (such as the root directory) before running snfsdefrag, and avoid using snfsdefrag's recursive option (-r).
If you need to recursively defragment files in a directory on an Xsan volume, you can do so by running snfsdefrag from the find utility. For example:
cd /
sudo find /Volumes/MyVolume/some_directory -type f -exec snfsdefrag '{}' \;
Alternatively, you can use snfsdefrag normally as the file's owner.
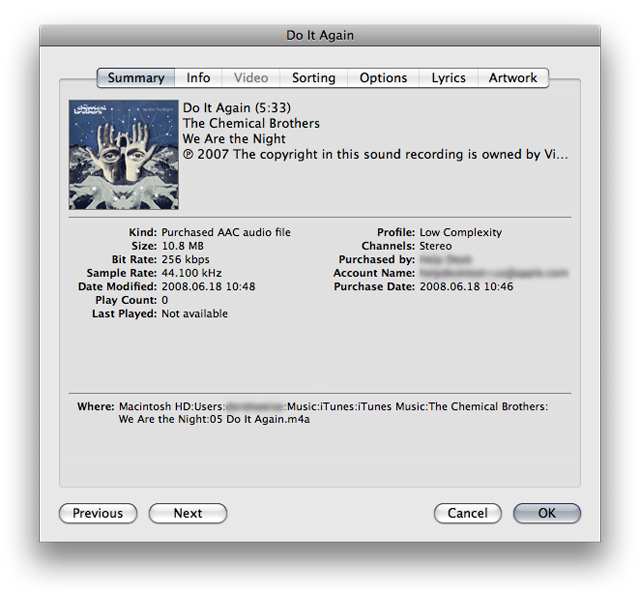
If you have forgotten your iTunes Store account name, you can recover it if you have made iTunes Store purchases by following these instructions:
Note: In most cases, your iTunes Store account name will be your email address. You may want to try signing in using your email address as your iTunes Store account name.
The Account Name area will list the account used to purchase the item. Unless you have changed accounts, this is your iTunes Store account name.
The base station must use an external DNS server, such as that provided by your ISP.
To change your DNS setting do the following:
The AirPort base station will now use the external DNS server, and devices on the Guest network should be able to connect to the Internet.
In most countries, the majority of 5GHz Wi-Fi channels, by government regulation, may only be used by devices that support a feature called Dynamic Frequency Selection (DFS), which allows Wi-Fi equipment to avoid interfering with radar installations. In order to have access to those channels, many regional editions of AirPort base stations support DFS. When configured to pick channels automatically, your AirPort base station may pick a channel that requires DFS support. Some third-party Wi-Fi devices don't support DFS and are thus forbidden from using those channels. If your AirPort base station picks a channel that your third-party Wi-Fi device can't use, your third-party Wi-Fi device won't be able to see or connect to your AirPort base station.
To enable your third-party Wi-Fi device to see your AirPort base station's 5GHz Wi-Fi network, set your base station's 5GHz channel to a channel that your third-party Wi-Fi device supports:
Important: When you set your AirPort base station 5GHz channel manually, you may encounter interference. If this happens, you will need to try different channels until you find a clear one.
If you change the channel of an AirPort base station, you don’t need to change the channel on computers connected to the wireless network.
Make sure the wireless keyboard and mouse are turned on
If the system has already started up and the keyboard or mouse indicator light is flashing, the keyboard or mouse is "discoverable" by the computer and may not currently be paired with the computer. For more information on pairing wireless devices refer to How to set up your Apple Wireless Keyboard.
Reset the Bluetooth device
First try turning your device off and then on again. Once powered on, the wireless device will remain in the "discoverable" mode for three minutes. For more info refer to Enabling discoverable mode.
Restart the computer
Try restarting your computer to see if that addresses the issue. If not, try shutting down your computer, waiting a minute, and then starting it back up again.
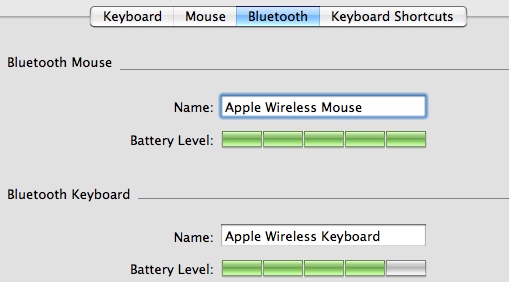
Check battery levels
Your Mac will inform you when you should replace the batteries in the keyboard and mouse. You can also manually check the battery level of the Apple Wireless Keyboard and Apple Wireless Mouse by following these steps:
Note: The battery indicator does not show battery levels of non-Apple Bluetooth mice and keyboards. If you don't see a battery indicator, make sure you are using an Apple Wireless Mouse or Keyboard.
Check for signal interference
Because Bluetooth works by transmitting signals through the air, some things can interfere with the wireless connection. Avoid situations in which metal objects come between the device and the computer. Don't put the computer under a metal desk or locked away behind a metal cabinet. Keep cordless phone base stations, microwave ovens, and other electrical devices that operate on a 2.4 GHz bandwidth away, and make sure that the wireless device and computer aren't more than 30 feet apart from each other.
You may need to repeat these steps to install this update on more than one display.
Note: Do not turn off or unplug the display while the updater is running.
To verify that LED Cinema Display Firmware Update 1.0 is installed on your LED Cinema Display (27-inch), double-click on the updater application in the Utilities folder. If the firmware update has been successfully installed, a message will appear indicating that the firmware is up to date.
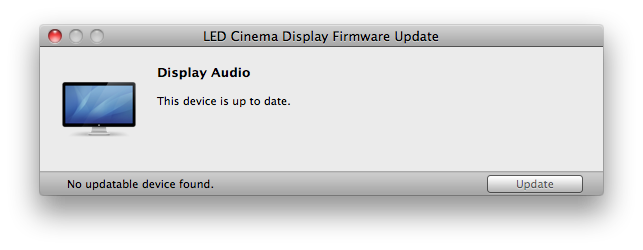
The message "No updatable device found" may appear if you run the updater application manually without an eligible display connected to your Mac.