Logic Pro X: Tips for phase-locked drum edits
Use Flex editing to adjust the timing of groups of drums tracks while maintaining phase accuracy among the tracks.
Create a Group
First create a group for the drum tracks. You should do this before you record the tracks, but you can do this afterward if necessary. However, you need to create the group before you start editing the drum tracks. To create the group with these steps.
- 
	
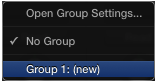
- Click inside the group slot in one of the drum track channel strips.


	 - Choose a new group from the drop-down menu.


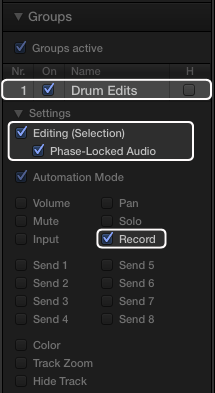
	 - The Group Settings panel will open in the Inspector. Click to enable the options for Editing, Phase-Locked Audio, and Record. It's also a good idea to give the the group a descriptive name.


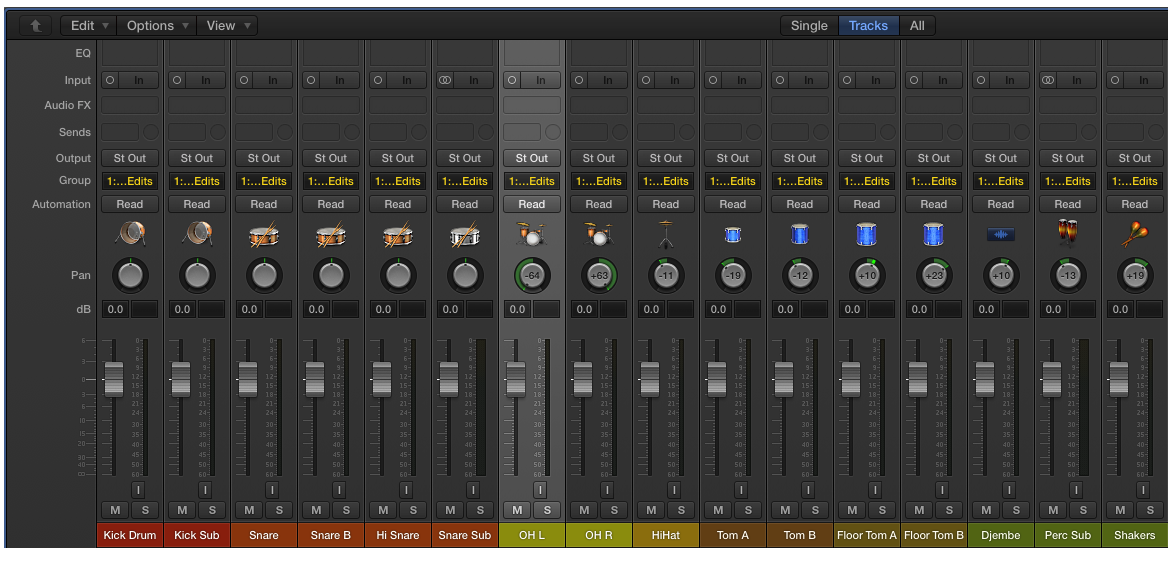
	 - Close the Group Settings, then Option-click the group slot in each of the other drum track channel strips on the Mixer to assign them to the group.


Record and Edit
Record the drum tracks. When you're done recording, use Quick Swipe comping to create the best composite take. Make any other edits, such as copying sections from one part of the song to another, and so on.
Flatten and merge
When you're satisfied with your comping and editing, flatten and merge the take folders with these steps.
- 
	
- Open the Take Folder pop-up menu in the upper left corner of one of the take folders.

	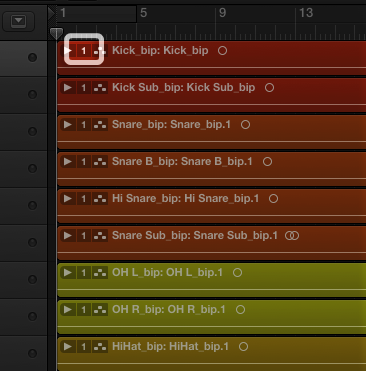 
	

	 - Choose "Flatten and Merge" from the menu.


	Note: This is recommended because phase-locked editing requires that all tracks in the group have the same start position and be exactly the same length. By merging all the regions and takes on each track to one audio file, discrepancies are less likely to appear. Also, because Logic's transient detection is file based, you need to go through the process of adjusting transients only once for each Q-Reference track.


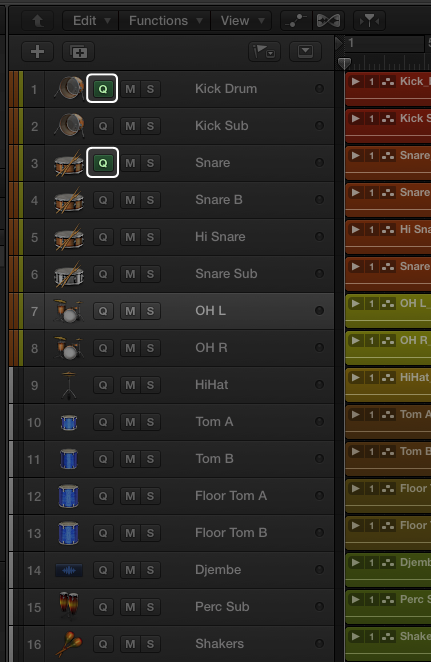
Choose tracks as Q-Reference
Decide which tracks should be used as Q-Reference tracks that will be used to determine quantization for the group. Typically, a snare and kick drum track are used as reference tracks. If you used multiple microphones on either drum, choose one track for each.
- 
	
- Open one of the tracks you want to use as a reference in the Audio File Editor window and choose Audio File > Detect Transients. 
	
- After Logic analyzes the file, check the transients in the Audio File Editor to make sure they are positioned correctly. Use the plus and minus buttons to add or subtract transients, move incorrectly placed transients, or manually add or remove transients with the pencil or eraser tools. 
	
- Repeat these steps for any other files you will use as Q-Reference.

	Note: It's not necessary to adjust the transients for the other tracks in the group; their timing will be adjusted with sample accuracy based on the transients in the Q-Referenced tracks. 
	 - In the Track Header of the Tracks area, enable the Q-Reference button for the tracks to be used as timing reference.


	Note: If you need to return to the Audio File Editor window to adjust the transients for any of the tracks after this stage, it's very important to disable the Q-Reference buttons for all tracks in the group first, otherwise, the transient edits will not carry over to your subsequent timing adjustments.

	 
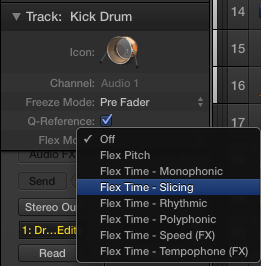
	 - In the Track Inspector for one of the tracks, click the Flex drop-down menu and choose one of the Flex Modes. For drums, Slicing is usually the best choice, but feel free to experiment with the others. The Flex Mode will be assigned to all tracks in the group.


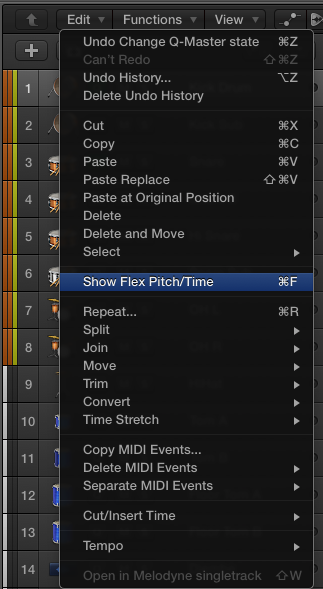
Enable Flex View in the Tracks area
- 
	
- Click the local Edit menu in Tracks area. 
	
- Choose Show Flex Pitch/Time from the drop-down menu.


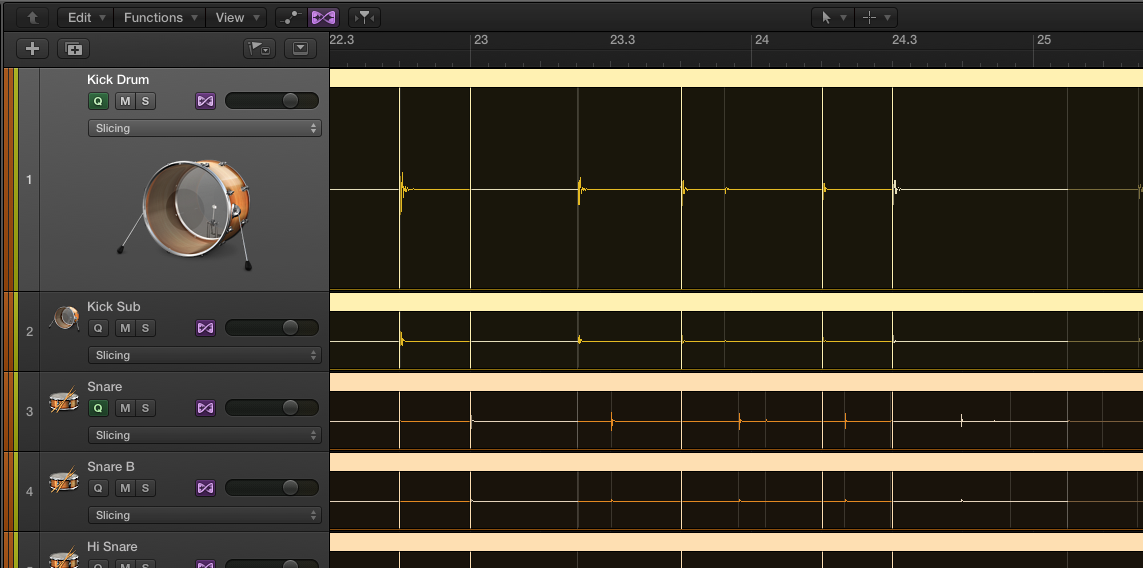
Apply Timing Adjustments
Perform your timing adjustments. For example, apply quantization to the tracks, or manually insert flex markers and drag audio in the reference tracks to desired positions.
When you apply quantization, you may find that some transients are quantized to unexpected positions. For example, if you choose a quantize value of 1/8 note, you may find that in places where there is no transient on the 1/8 note grid, a transient in between grid positions, such as an in-between 1/16 note is moved to to the nearest 1/8 note. You can prevent this by setting an appropriate Q-Range value in the region parameter box:
- 
	
- Click the Advanced Quantization disclosure triangle at the bottom of the region parameter box. 
	
- Click the up/down arrows to the right of the Q-Range parameter. 
	
- Choose a relatively short value, such as 1/24 or 1/32. Experiment until you get the result you want. 

Note: Q-Range limits quantization to transients that fall within the value you choose. For example, if you choose 1/32, then any transient farther away than 1/32 note from the quantization grid you choose will not be quantized.